Phone:
(701)814-6992
Physical address:
6296 Donnelly Plaza
Ratkeville, Bahamas.
Phone:
(701)814-6992
Physical address:
6296 Donnelly Plaza
Ratkeville, Bahamas.
Running a home Kubernetes cluster isn’t just for enterprise IT teams anymore. DIY tech enthusiasts are building home labs to learn cloud-native tools, host personal applications, and experiment with container orchestration. But here’s the catch: without proper storage configuration, your containerized apps won’t persist data across restarts, and your carefully configured databases will vanish into thin air. Kubernetes storage solutions let you manage where and how your containers store data, whether it’s a PostgreSQL database, a media server library, or application logs. This guide walks through the storage options available for home Kubernetes clusters, how to set them up, and practical tips for managing persistent data without overcomplicating your setup.
Kubernetes storage solutions provide a way for containerized applications to read and write data that survives beyond the lifecycle of individual pods. By default, containers are ephemeral, when a pod restarts or crashes, any data stored inside disappears. That’s fine for stateless apps like web frontends, but it’s a disaster for databases, file servers, or anything that needs to remember what happened five minutes ago.
In a home lab context, you’re likely running services like Nextcloud for file storage, Plex for media streaming, or Home Assistant for smart home automation. All of these need persistent storage. Kubernetes abstracts the underlying storage hardware, whether that’s a local SSD, a NAS device, or a cloud-backed volume, and presents it to your applications through a unified API.
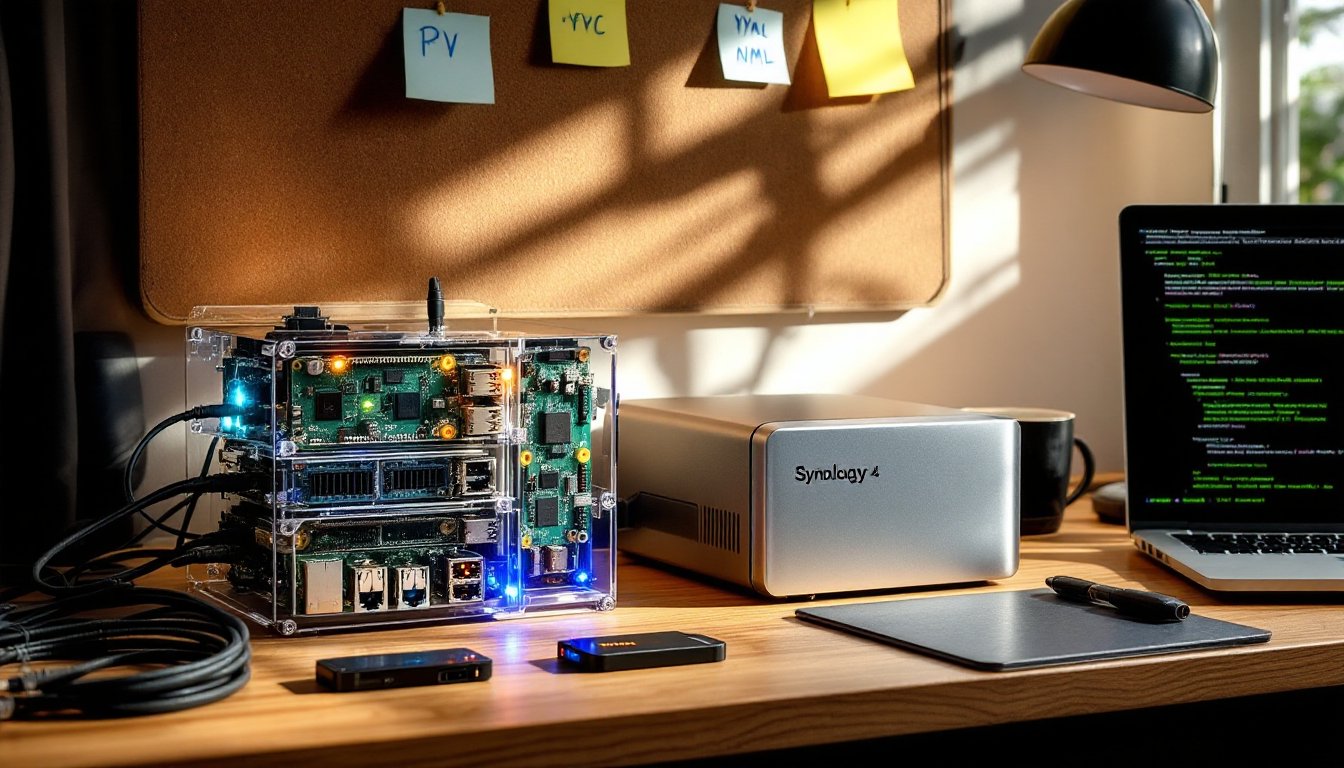
Unlike enterprise Kubernetes clusters that might use expensive SAN arrays or cloud provider storage classes, home lab setups often rely on local disks, NFS shares from a Synology or TrueNAS box, or even USB-attached drives. The challenge is configuring Kubernetes to recognize and manage these resources reliably without requiring a degree in distributed systems. Understanding the core storage primitives, Persistent Volumes (PVs), Persistent Volume Claims (PVCs), and Storage Classes, is the first step toward a stable home cluster.
One key distinction: Kubernetes storage isn’t about file organization or decluttering your digital life. It’s infrastructure. Think of it like running electrical conduit and junction boxes before drywall goes up, invisible, essential, and easy to mess up if you skip the planning stage.
Persistent Volumes (PVs) are cluster-wide storage resources that an administrator provisions. In a home lab, you act as both admin and user, so you define what storage exists, maybe a 500GB NVMe SSD mounted at /mnt/k8s-storage on one of your nodes, or an NFS share from your NAS at 192.168.1.100:/volume1/kubernetes.
Persistent Volume Claims (PVCs) are requests for storage made by applications. A PVC says, “I need 10GB of storage with ReadWriteOnce access.” Kubernetes matches the claim to an available PV that meets the requirements. The separation between PVs and PVCs mirrors the difference between having electrical outlets in your walls (PVs) and plugging in a device when you need power (PVCs).
For home labs, the most common PV types are:
/mnt/data). Fast and simple, but tied to a single machine. If that node goes down, your data is unavailable until it comes back.When setting up a media server project or organizing digital files, using strategies similar to those from creative storage hacks can inspire modular, adaptable approaches to structuring your Kubernetes volumes and node configurations.
Static provisioning means you manually create PVs before applications request them. You run a YAML manifest that defines a PV backed by your NFS share, then deploy an app with a PVC that binds to it. This approach gives you full control and visibility, you know exactly what’s consuming which storage resource.
Dynamic provisioning uses a Storage Class to automatically create PVs when a PVC is submitted. You define a Storage Class that points to a provisioner (like nfs-subdir-external-provisioner or local-path-provisioner), and Kubernetes handles the rest. For home labs, dynamic provisioning reduces manual busywork, especially if you’re frequently testing new applications or running ephemeral workloads.
Most DIY Kubernetes distributions (k3s, MicroK8s) ship with a default local-path Storage Class that uses hostPath volumes. It works out of the box but lacks redundancy. If you want high availability or the ability to move workloads between nodes, you’ll need to set up an NFS-based or distributed storage solution like Longhorn or Rook-Ceph.
Be honest about your needs. If you’re running a single-node cluster on a refurbished Dell Optiplex in the garage, hostPath storage is fine. If you’ve got three Raspberry Pi 4s in a cluster and want resilience, invest time in configuring shared storage. Distributed storage systems add complexity, network overhead, synchronization delays, and more moving parts that can break. Choose the simplest solution that meets your reliability requirements.
Start by identifying what storage hardware you have available. A 256GB SSD dedicated to Kubernetes? An 8TB spinning disk in your NAS? USB-attached drives work but aren’t recommended for production-like workloads, USB connections can flake out, and performance is inconsistent.
For NFS-based storage, you’ll need to:
/volume1/k8s-pv) and enable NFS exports. Set permissions to allow read/write access from your cluster nodes’ IP range.sudo apt install nfs-common. Without this, nodes can’t mount NFS shares.nfs-subdir-external-provisioner using Helm. This creates a Storage Class that dynamically provisions subdirectories on your NFS share as PVs.For local storage, the setup is simpler:
mkdir -p /mnt/k8s-local-storage).kubectl patch storageclass local-path -p '{"metadata": {"annotations":{"storageclass.kubernetes.io/is-default-class":"true"}}}'.Once your storage backend is configured, test it:
Safety reminder: Always back up your NAS or storage nodes separately. Kubernetes storage solutions manage how containers access data, but they don’t replace offsite backups or RAID configurations. If your single NFS server dies and you have no backup, your home lab data is gone.
If you’re setting up a home lab for the first time, organizing cables, labeling storage devices, and documenting your setup mirrors the same systematic approach found in effective home organization strategies, where clarity and planning prevent future headaches.
Permit and code considerations: Home Kubernetes clusters don’t require building permits, but if you’re running high-power equipment (multiple servers, NAS devices), check that your home electrical panel can handle the load. A 20A circuit supports roughly 2,400 watts. Three servers plus a NAS can push 500-800 watts under load.
Label and document everything. Use consistent naming conventions for PVs, PVCs, and Storage Classes. A label like app: plex or environment: homelab makes it easy to identify what storage belongs to which service when you’re troubleshooting at 11 PM.
Set resource limits on PVCs. Even in a home lab, it’s good practice to request only the storage you need. A PostgreSQL database for Home Assistant doesn’t need 500GB, 10GB is plenty. Overprovisioning wastes space and makes capacity planning harder as you add more services.
Use ReadWriteOnce (RWO) access modes unless you specifically need ReadWriteMany (RWX). RWO means a volume can be mounted by a single node at a time, which is fine for most apps. RWX allows multiple nodes to mount the same volume simultaneously (useful for shared file storage), but it requires storage backends that support it, NFS works, hostPath doesn’t.
Monitor storage usage. Install tools like Prometheus and Grafana or use kubectl top plugins to track disk usage across PVs. Running out of space on a critical volume can crash databases or cause data corruption.
Test restores, not just backups. Use Velero or a similar tool to back up your Kubernetes manifests and persistent volumes. But don’t assume backups work, actually restore them to a test namespace and verify data integrity.
Avoid mixing stateful workloads on single-node clusters if uptime matters. If your only node reboots, everything goes offline. For critical services (like a home security camera NVR or network monitoring), consider running them outside Kubernetes or on dedicated hardware.
Separate storage tiers. Use fast SSDs for databases and applications that need low latency. Use slower spinning disks or NAS shares for media libraries and archival data. Kubernetes Storage Classes make it easy to offer multiple tiers, just create separate classes for fast-local and slow-nfs.
When organizing physical storage in your server rack or home office, applying principles from kitchen design ideas, like grouping frequently used items together and keeping tools accessible, translates surprisingly well to structuring your lab equipment and storage hardware for efficiency.
Plan for growth but don’t over-engineer. If you’re starting with a single Raspberry Pi and a USB drive, that’s fine. Run what works, learn the basics, and upgrade storage as your needs expand. Home labs are iterative projects, not production data centers.
Kubernetes storage solutions turn your home lab from a collection of ephemeral containers into a stable platform for real applications. Whether you’re using local SSDs, NFS shares, or a mix of both, the key is matching storage architecture to your actual needs, not what you think a “proper” cluster should look like. Start simple, test thoroughly, and build complexity only when your workloads demand it. Your future self, troubleshooting a crashed pod at midnight, will thank you for keeping the storage layer straightforward and well-documented.