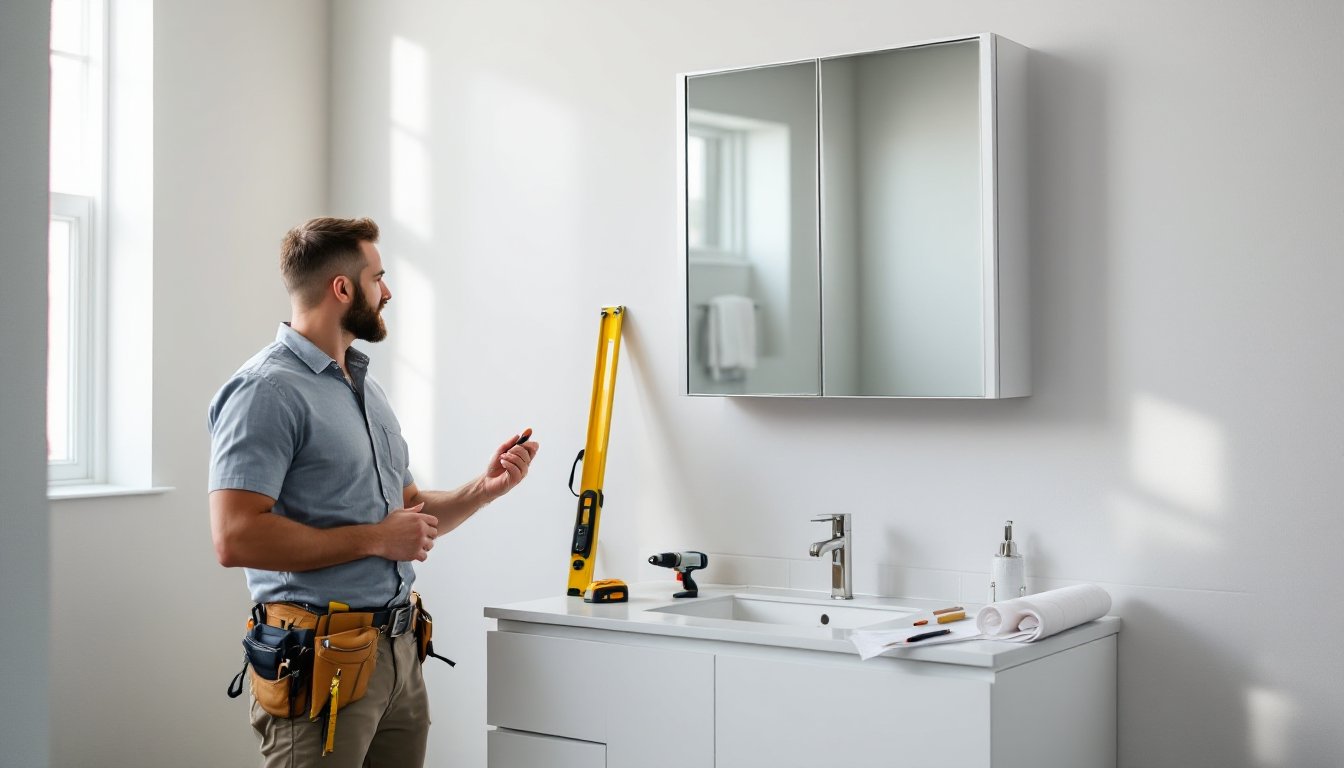
Bathrooms have a way of swallowing storage. Towels, toothbrushes, backup shampoo bottles, that one hair dryer no one uses but no one throws out either. When floor space is tight and the vanity is full, the smartest move is often to look between the studs. A bathroom cabinet in wall, also called a recessed or inset cabinet, tucks storage into the empty cavity behind the drywall, freeing up inches without stealing square footage. Here’s how to plan, choose, and install one without regret.
Key Takeaways
- A bathroom cabinet in wall (recessed cabinet) hides storage between studs, saving 4–6 inches of floor space without reducing the room’s footprint.
- Before cutting into any wall, confirm stud location, plumbing/electrical lines, and load-bearing status with a stud finder and inspection camera to avoid costly mistakes.
- A standard between-stud bathroom cabinet in wall measures approximately 14″ wide × 4″ deep, while wider units require cutting studs and installing a header—a larger job but achievable.
- Installation is a 3–5 hour weekend project requiring proper tools (drywall saw, level, drill) and materials (blocking lumber, screws, caulk), followed by trim and caulk finishing.
- Design options for recessed cabinets range from mirror-front medicine cabinets to open niches and tile-surround features, all of which deliver high ROI with clean, built-in results for small bathrooms.
What Is an In-Wall Bathroom Cabinet and Why Choose One
An in-wall (recessed) bathroom storage cabinet sits inside the wall cavity rather than projecting out from it. The face frame and door stay flush with the drywall, while the box hides between studs, typically a 14.5″ wide cavity in standard 16″ on-center framing.
Why bother? Three reasons:
- Space savings. A surface-mount cabinet eats 4–6 inches of room depth. Recessed units reclaim that.
- Cleaner sightlines. Flush installation reads as built-in, not bolted-on.
- Better for narrow bathrooms. Hallway baths and powder rooms benefit most.
For more ideas on squeezing function out of tight footprints, this roundup of small bathroom storage solutions pairs well with a recessed install.
Planning Your Installation: Wall Type, Studs, and Plumbing Considerations
Before anyone reaches for a drywall saw, they need to know what’s behind the wall. This is the step most DIYers skip and later regret.
Check three things first:
- Stud location and spacing. Use a stud finder, then confirm by drilling a small pilot hole. Most interior walls are framed with 2x4s at 16″ on center.
- Plumbing and electrical. Walls behind vanities, toilets, and showers often hide supply lines, drain stacks, and wiring. Cutting blind into one of those is a bad day.
- Load-bearing status. Most interior bathroom walls aren’t load-bearing, but exterior walls are, and they contain insulation, vapor barriers, and sometimes structural sheathing. Recessing into an exterior wall is rarely worth the heat loss.
When in doubt, an inspection camera through a small hole costs less than $40 and saves hours. This Old House’s medicine cabinet installation walkthrough covers blocking and rough-opening prep in useful detail.
Choosing the Right Size, Style, and Material
Size is dictated by the cavity. A standard between-stud cabinet measures roughly 14″ wide x 4″ deep, with heights ranging from 20″ to 30″. Wider units (24″–36″) require cutting one or more studs and adding a header, a bigger job, but doable.
Material options:
- Solid wood (oak, maple, poplar): durable, paintable, but pricier.
- MDF with veneer: affordable, smooth finish, but hates moisture. Seal every edge.
- Metal-framed units: common in medicine cabinets, slim profile, mirrored doors.
For style, the choices range from frameless minimalist boxes to shaker-front cabinets with bronze pulls. A bathroom cabinet IKEA shoppers often consider, like the LILLÅNGEN or HEMNES line, works as a surface-mount option, but a true recessed unit usually comes from brands like Kohler, Robern, or specialty millworkers. Design publications such as Remodelista are good for narrowing down a look before committing. For darker finishes that hide splash marks, black bathroom storage cabinets hold up well in high-traffic baths.
Step-by-Step Guide to Installing a Recessed Bathroom Cabinet
This is a weekend project for someone comfortable with drywall and a level. Plan on 3–5 hours for a between-stud install, longer if studs need cutting.
Tools and Materials You’ll Need
Tools:
- Stud finder
- Drywall saw or oscillating multi-tool (cleaner cuts)
- Level (24″ minimum)
- Tape measure, pencil, square
- Drill/driver with #2 Phillips and countersink bits
- Utility knife
- Safety gear: goggles, dust mask (N95), work gloves
Materials:
- The recessed cabinet itself
- 2×4 lumber for blocking or header (if widening)
- 2.5″ wood screws or #8 cabinet screws
- Drywall patch material and joint compound (for trim-out)
- Shims
Bob Vila’s inset vs. surface-mount guide is worth a read for anyone weighing both options.
Cutting, Framing, and Securing the Cabinet
- Mark the opening. Hold the cabinet against the wall, level it, and trace the outline. Add 1/8″ on each side for fit clearance.
- Score the drywall with a utility knife along the lines, then cut with a drywall saw. Pull the cutout free.
- Inspect the cavity. Confirm no surprise pipes or wires. If anything is in the way, stop and reroute (call a pro for plumbing or electrical).
- Add blocking. Install horizontal 2×4 blocks at the top and bottom of the opening between studs. These give the cabinet flange something solid to screw into.
- Test fit. Slide the cabinet in. It should sit flush with the drywall face. Shim as needed.
- Secure it. Drive screws through the cabinet’s interior side flanges into the studs and blocking. Two screws per side, minimum.
- Trim and caulk. Patch any gaps with joint compound, sand smooth, and run a thin bead of paintable caulk where the cabinet meets the drywall.
Double-check level before the final screws, once it’s anchored, adjustments mean patching holes.
Design Ideas to Style Your Recessed Cabinet
A recessed cabinet doesn’t have to disappear into the wall, though it can. A few directions worth considering:
- Mirror-front medicine cabinet above the vanity. Functional, reflects light, hides clutter.
- Open-niche conversion. Skip the door entirely and trim the opening with painted casing for a built-in shelf look. Great for rolled towels or a small plant.
- Tile-surround feature. Run the wall tile right up to the cabinet edge for a custom, spa-like finish.
- Stacked verticals. Two narrow cabinets stacked floor-to-ceiling beside the toilet add serious storage without a footprint.
The same between-stud thinking applies to other rooms too, kitchen layouts benefit from similar tricks, like the dead-space fixes in this guide to corner storage cabinets for the kitchen. Hardware finish matters more than people expect: matte black, brushed brass, and unlacquered nickel each shift the room’s tone considerably.
A quick takeaway: recessed bathroom cabinets are one of the highest-ROI DIY projects for small bathrooms. They cost little, they finish clean, and they solve the storage problem without shrinking the room. Plan carefully, cut once, and the wall does the work.