Phone:
(701)814-6992
Physical address:
6296 Donnelly Plaza
Ratkeville, Bahamas.

Phone:
(701)814-6992
Physical address:
6296 Donnelly Plaza
Ratkeville, Bahamas.
Clutter has a way of multiplying when nobody’s looking. One day the garage is manageable, the next it’s a wall of seasonal decorations, paint cans, and that kayak someone swore they’d use. Storage racking solutions offer a practical path out of chaos, shelving systems that turn vertical space into organized, accessible storage. Whether tackling a cluttered basement, overflow pantry, or workshop full of tools, the right racking transforms wasted square footage into functional real estate. This guide walks through racking types, selection criteria, installation basics, and creative space-maximizing strategies to help homeowners reclaim their spaces in 2026.
Storage racking solutions are freestanding or wall-mounted shelving systems designed to organize items vertically while maximizing floor space. Unlike traditional furniture, racking focuses on load capacity, durability, and efficient use of height, particularly valuable in spaces like garages, basements, and utility rooms where cubic footage matters more than aesthetics.
Most residential racking systems use steel or heavy-duty resin construction with adjustable shelves. Steel options typically handle 1,000–3,000 pounds per unit (distributed across shelves), while resin systems manage lighter loads, 200–800 pounds total. Load ratings matter: overloading shelves risks collapse and injury, especially with overhead storage.
The case for adding racking goes beyond tidiness. Vertical storage reduces trip hazards, protects items from floor moisture (critical in basements prone to dampness), and makes inventory visible. Instead of digging through stacked bins, homeowners can see what they own, cutting down on duplicate purchases and wasted time. In workshops, proper racking keeps tools and materials organized by project type, speeding up workflow.
From a safety standpoint, racking beats improvised solutions like stacked milk crates or sagging particle board. Purpose-built systems anchor to wall studs and distribute weight across multiple supports, meeting basic load requirements without the guesswork.
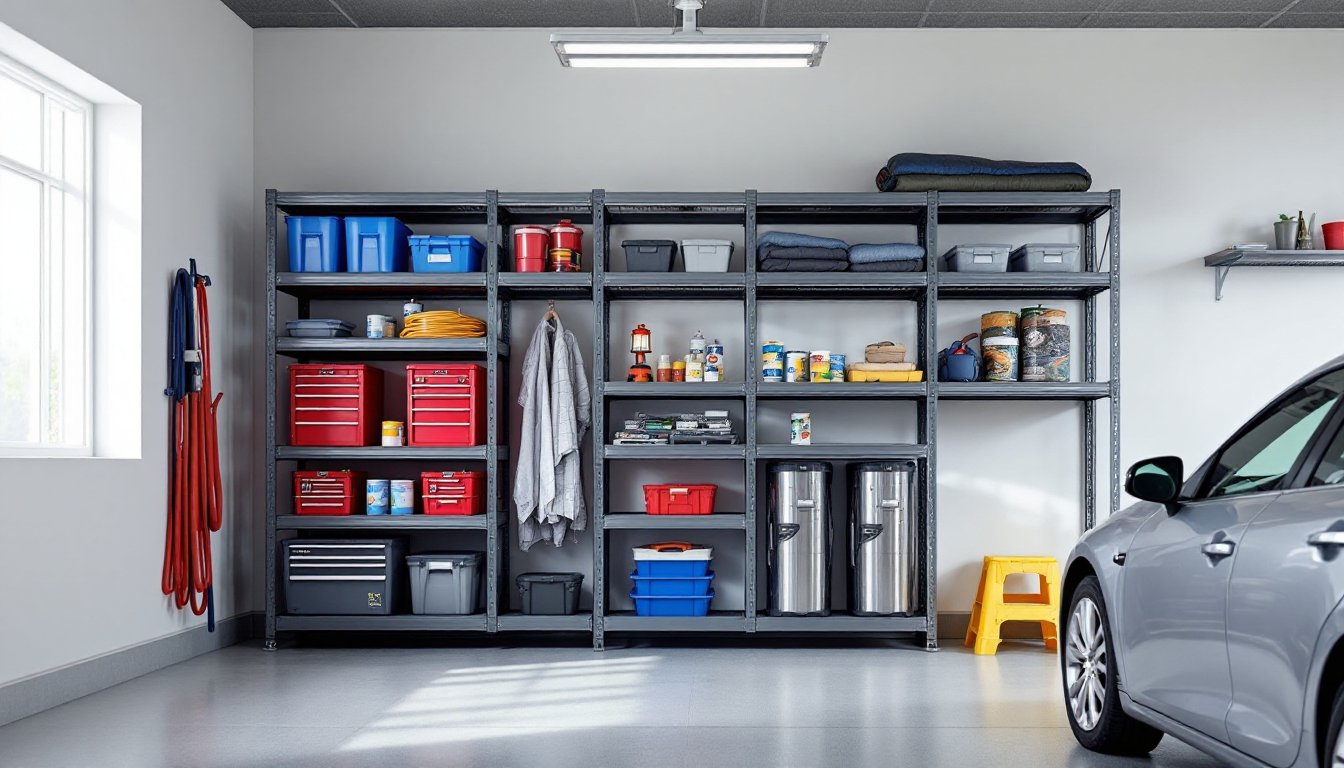
Garages and basements handle the heaviest, bulkiest storage, seasonal gear, tools, building materials, and automotive supplies. Three racking types dominate these spaces:
Freestanding heavy-duty shelving uses powder-coated steel frames with adjustable shelves, typically 72–77 inches tall and 48 inches wide. Shelves adjust on 1-inch increments, allowing customization for paint cans, storage bins, or larger items like shop vacs. Models with Z-beam or rivet construction require no bolts, shelves lock into uprights with a mallet tap. These units don’t require wall anchoring for stability but benefit from anchor straps in earthquake-prone regions.
Overhead garage storage racks mount to ceiling joists, reclaiming space above vehicles. Most designs use 4×8-foot or 4×4-foot platforms suspended 16–45 inches below the ceiling, perfect for seasonal bins, camping gear, or holiday decorations. Installation demands locating joists with a stud finder and securing lag bolts into solid framing, never drywall alone. Weight capacity ranges from 250–600 pounds depending on joist spacing and mounting hardware. Always confirm ceiling joist size (2×6, 2×8, or engineered trusses) before installation: some garage trusses prohibit added loads.
Wall-mounted track systems combine vertical rails with adjustable hooks, baskets, and shelves. Tracks bolt into wall studs, creating modular storage for bikes, ladders, garden tools, and sports equipment. This option works best on exterior garage walls with 16-inch on-center stud spacing. Plastic-coated hooks prevent scratches on bike frames and tool handles.
Kitchen and pantry racking prioritizes accessibility and space efficiency over raw capacity. Wire shelving remains the go-to for pantries, ventilated shelves prevent dust buildup and allow air circulation around dry goods. Standard pantry units measure 12–16 inches deep (shallower than garage racks) and 72 inches tall, fitting between floor and ceiling in most homes.
Pull-out drawer systems maximize deep cabinet storage where items get lost in back corners. These slide-mounted racks work well for canned goods, spices, or cleaning supplies. Installation requires measuring cabinet interior width and mounting slides to cabinet sides, most systems need ½-inch clearance on each side for smooth operation.
For small kitchens, over-the-door racks add 12–20 inches of depth without taking floor space. These hang on standard interior doors using over-the-door hooks and hold spices, foil, or cleaning supplies. Weight limits hover around 30–50 pounds, sufficient for pantry items but not cast iron cookware.
Many woodworking enthusiasts build custom pantry pull-outs using plans from resources like Ana White, which offers free designs sized for common cabinet dimensions and skill levels.
Choosing racking starts with three measurements: available floor space, ceiling height, and item weight. Measure wall length and depth, accounting for door swing clearance and walkway space, most garages need a 36-inch clear path for safe movement.
Next, assess what’s being stored. Heavy items like auto parts, canned goods in bulk, or power tools demand steel shelving rated for 1,500+ pounds. Lighter seasonal storage (artificial trees, camping gear, linens) works fine on resin shelving at a lower price point. Check weight per shelf ratings, not just total unit capacity, distributing 300 pounds on one shelf overloads most residential racks even if the total is under unit max.
Material choice affects longevity. Steel racking with powder-coated or galvanized finishes resists rust in damp basements or humid climates. Resin shelving handles moisture better than bare steel but cracks under extreme cold, avoid unheated garages in northern climates. Wire shelving works in dry pantries but sags under uneven weight distribution.
Adjustability matters for changing needs. Look for shelves that reposition without tools, boltless rivet designs or clip-style supports beat systems requiring wrenches to adjust height. Some racks include particle board decking for small items that fall through wire: others use solid steel shelves.
For earthquake zones or homes with active kids, wall anchoring isn’t optional. Even freestanding units need L-brackets or anchor straps secured to studs. Most building codes don’t mandate racking anchors in residential spaces, but physics doesn’t care about codes, tall, loaded shelves tip forward when bumped.
Finally, consider expansion. Modular systems allow adding units side-by-side or stacking smaller racks (if manufacturer-rated for it). Buying one brand and model simplifies future expansion.
Most homeowners can install storage racking with basic tools and attention to detail. Here’s the process for freestanding and wall-mounted systems.
Tools and materials needed:
Step-by-step installation for freestanding racking:
Wall-mounted track and overhead rack tips:
For track systems, mark stud locations across the wall span. Tracks must hit studs at every mounting hole, toggle bolts in drywall won’t support real weight. Use a level to ensure tracks run plumb: even slight angles cause hooks and shelves to tilt.
Overhead ceiling racks require locating joists with a stud finder. Drill pilot holes and install lag bolts at least 3 inches into joist wood, not just through drywall. If joist direction doesn’t align with the rack, add a 2×4 ledger board across multiple joists and mount the rack to the ledger. This spreads the load and prevents joist damage.
Always have a second person for overhead installations. Supporting a 50-pound rack while drilling overhead isn’t safe solo. Many builders consult Fix This Build That for detailed shop and garage setup guides that cover joist-finding techniques and safety practices.
Safety warnings:
Small homes demand creative thinking, every square foot counts, and vertical space often goes unused. Here are tested strategies for squeezing more storage from tight quarters.
Go floor-to-ceiling in closets and pantries. Standard shelving stops at 72 inches, leaving 12–24 inches unused below the ceiling. Custom or adjustable systems that reach 96 inches capture that space for rarely used items, holiday platters, out-of-season clothes, or archived paperwork. A small step stool makes high shelves accessible without wasting floor space on permanent ladders.
Use corner racking. Corners trap dead space in garages and basements. Corner shelving units with L-shaped or triangular shelves fit into 90-degree angles, adding storage without blocking walkways. These work especially well for paint cans, automotive fluids, or cleaning supplies.
Install narrow racking in unused gaps. The space between a refrigerator and wall, beside a washer-dryer, or along a basement stairwell often measures 6–12 inches wide, useless for furniture but perfect for slim rolling racks. Mobile carts with 4-inch casters slide into gaps and pull out for access, ideal for canned goods, spices, or cleaning supplies.
Combine racking with DIY furniture builds. Many woodworkers integrate shelving into workbenches, laundry room counters, or mudroom lockers. Projects from sites like The Handyman’s Daughter show how to build combo units that serve dual purposes, workspace below, storage above, without taking extra floor space.
Leverage wall studs with heavy-duty brackets. In laundry rooms or workshops, wall-mounted brackets support 12-inch-deep shelves without floor supports. Mounting directly to studs with structural screws allows each bracket to hold 100–200 pounds, sufficient for storage bins or tool organizers. This keeps floors clear for appliances or workbenches.
Stack racking modules vertically (where rated). Some manufacturers design units for vertical stacking, two shorter racks bolted together reach ceiling height and cost less than one tall unit. Confirm the bottom rack’s load capacity includes the weight of the upper unit plus stored items.
For ongoing inspiration and organization strategies, exploring additional storage racking solutions helps homeowners discover new applications and space-saving techniques as needs evolve.
Vertical thinking transforms cramped spaces into organized, functional areas. The key is measuring carefully, choosing appropriately rated systems, and installing with an eye toward safety and future adjustability.