Clutter has a way of creeping up on a property. Tools migrate to the patio, seasonal decorations stack up in the garage, and suddenly there’s no room to park a car or work on a project. On-site storage solutions aren’t just about stashing stuff, they’re about reclaiming usable space, protecting investments from weather damage, and creating functional zones for hobbies, maintenance, and outdoor living. Whether a homeowner is tackling a renovation that requires temporary equipment storage or simply needs a permanent home for lawn care gear, the right storage setup can make a property more efficient and enjoyable to use.
Key Takeaways
- On-site storage solutions reclaim usable yard space, protect equipment from weather and theft, and add functional value that appeals to prospective buyers.
- Outdoor sheds, portable storage containers, and pre-fabricated units each offer distinct advantages: wood sheds suit traditional homes but need maintenance, metal sheds are low-maintenance and fire-resistant, and portable pods provide temporary flexibility without permanent commitment.
- Proper foundation preparation—using level ground, compacted gravel bases, and pressure-treated skids or concrete slabs—prevents settling, rot, and structural failure in storage structures.
- Select on-site storage capacity by adding 20-30% extra space for circulation and future acquisitions, and verify local zoning codes before purchasing, as many jurisdictions regulate shed size, height, and property line setbacks.
- Store flammable materials and sharp tools in separate, ventilated structures away from living areas to reduce fire risk and prevent accidents with children or pets.
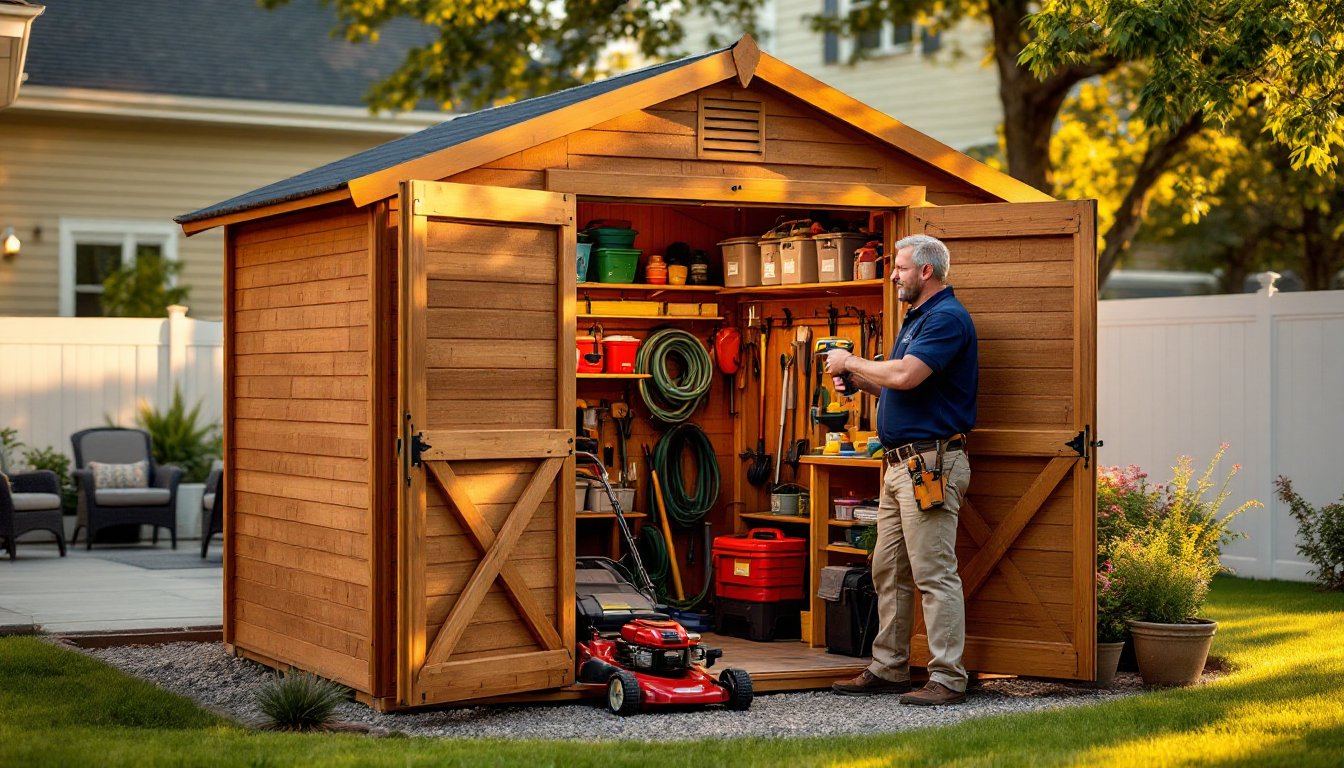
- Interior organization using wall-mounted shelving, pegboards, elevated pallets, and multi-use layouts maximizes storage efficiency and protects equipment from moisture and pest damage.
What Are On-Site Storage Solutions and Why Do You Need Them?
On-site storage solutions refer to any dedicated storage structure or system located on a homeowner’s property, designed to organize and protect tools, equipment, materials, or seasonal items. Unlike off-site storage units that require driving to another location, these solutions keep everything within reach.
The benefits go beyond convenience. Outdoor storage protects expensive equipment from UV damage, moisture, and theft. It also helps maintain a clean, organized workspace, critical when juggling multiple projects or working with precise measurements where clutter leads to mistakes. For properties with limited garage or basement space, on-site storage can free up interior square footage for living areas or workshops.
From a resale perspective, well-designed storage adds functional value. Prospective buyers notice properties with organized outdoor spaces, dedicated tool storage, and protected areas for lawn equipment. It signals that a home has been maintained thoughtfully.
Safety matters too. Storing flammable materials like gasoline, paint thinners, and propane tanks in a separate, ventilated structure away from living areas reduces fire risk. Similarly, keeping sharp tools and power equipment locked up prevents accidents, especially in homes with children or pets.
Popular Types of On-Site Storage for Homeowners
Outdoor Sheds and Storage Buildings
Outdoor sheds remain the most common permanent storage solution. They range from simple 8×10 gable-roof structures to custom-built workshops with electricity and insulation.
Material options include:
- Wood sheds: Cedar or pressure-treated lumber resists rot and accepts stain or paint. They blend well with traditional home styles but require periodic maintenance, sealing every 2-3 years to prevent weather damage.
- Metal sheds: Galvanized steel or aluminum options are low-maintenance and fire-resistant. They’re lighter than wood, making them easier to assemble, but can develop condensation issues without proper ventilation. Adding ridge vents or gable louvers helps.
- Resin or vinyl sheds: Pre-fabricated plastic models resist rust, rot, and insects. They’re nearly maintenance-free but can fade in direct sunlight and may not support heavy shelving loads without reinforcement.
Most sheds require a level foundation, either a gravel base, concrete slab, or pressure-treated skid frame. Skipping this step leads to door misalignment, floor sagging, and premature failure. Local zoning codes often regulate shed placement: many jurisdictions require structures over 120 square feet to sit at least 3-5 feet from property lines and may require a building permit.
For DIYers looking to build from scratch, free plans for various creative storage configurations offer solid starting points, though it’s crucial to adapt dimensions and materials to local climate conditions.
Portable Storage Containers and Pods
Portable containers, often called pods or mobile storage units, offer flexibility for temporary or semi-permanent use. These steel or composite boxes come in standard sizes (typically 8×10, 8×12, or 8×16 feet) and can be delivered, filled on-site, then either moved or left in place.
Advantages include:
- Immediate availability without construction time
- Weather-tight seals that protect contents from rain and pests
- Lockable security features
- Mobility for renovation projects, estate cleanouts, or seasonal storage needs
Drawbacks to consider:
- Rental costs add up for long-term use (monthly fees often exceed $100-$200 depending on region and size)
- Delivery requires accessible, level ground and clearance for trucks (typically 12+ feet overhead, 10+ feet width)
- Aesthetics, industrial containers may clash with residential landscaping unless screened with fencing or plantings
- Ground contact can kill grass or create mud pits: placing containers on gravel pads or landscape timbers prevents this
For homeowners managing a major renovation who need secure, temporary tool and material storage, pods solve the problem without committing to a permanent structure. They’re also useful during roofing or siding projects when the garage needs to stay clear.
How to Choose the Right On-Site Storage Solution for Your Home
Selection starts with honest assessment of needs. Make a list of everything that needs storage: lawn mower, snow blower, hand tools, ladders, paint, sports equipment, patio furniture, etc. Measure the footprint of large items, riding mowers and ATVs take up more space than people estimate.
Key factors to evaluate:
- Capacity: Add 20-30% to the calculated square footage for circulation space and future acquisitions. A cramped shed becomes useless quickly.
- Access: Wide double doors (at least 60 inches) make moving wheeled equipment easier. Consider door swing direction relative to the home and driveway.
- Climate control: Insulated sheds with ventilation prevent condensation that rusts tools and damages finishes. If storing electronics, hobby equipment, or temperature-sensitive materials, consider adding a small dehumidifier or passive ventilation.
- Security: Upgrade flimsy pad-eye latches to heavy-duty hasp locks or deadbolts. Ground-level windows are convenient but create security risks, consider placement carefully or add bars.
- Zoning and setbacks: Check local ordinances before purchasing. Many municipalities limit shed size, height (often 12-15 feet max), and proximity to property lines. Some HOAs restrict shed colors or require architectural approval.
- Budget: Prefab sheds range from $500 for basic resin units to $5,000+ for large wood buildings. Custom-built options start around $3,000 and climb depending on size, materials, and features like electricity or shelving. Portable containers cost $100-$200/month to rent or $2,000-$4,000 to purchase outright.
For properties with minimal yard space, vertical solutions matter. Wall-mounted racks, pegboards, and overhead ceiling storage inside a smaller shed maximize capacity. Numerous small space storage strategies translate well to shed interiors, particularly modular shelving and magnetic tool strips.
Don’t overlook multi-use structures. A 10×12 shed can house lawn equipment on one side and double as a potting bench or hobby workshop on the other with smart layout and sturdy workbenches.
DIY Installation Tips and Best Practices
Installing a shed or storage solution correctly ensures longevity and performance. Rushed installations lead to settling, rot, and structural failure.
Foundation preparation:
- Select a level site with good drainage. Avoid low spots where water pools. If the only available location has a slope, build up the low side with compacted gravel rather than digging into the high side, which destabilizes soil.
- Clear vegetation and remove topsoil down to firm subsoil (typically 4-6 inches).
- Lay landscape fabric to suppress weeds, then add a 4-inch base layer of ¾-inch crushed stone. Compact with a plate compactor or hand tamper.
- For wood sheds on skids, use 4×4 or 6×6 pressure-treated timbers as runners, leveled with a 4-foot level and shimmed as needed. For concrete slabs (recommended for heavy equipment or permanent structures), pour at least 4 inches thick with 6×6 10/10 welded wire mesh reinforcement and allow 7 days to cure before building.
Assembly best practices:
- Read instructions fully before starting. Prefab kits assume a specific order: skipping ahead causes misalignment.
- Pre-drill screw holes in metal and vinyl sheds to prevent cracking. Use stainless steel or coated fasteners to resist corrosion.
- Square the base frame before attaching walls. Measure diagonals, they should match within ¼ inch. An out-of-square base means doors won’t close properly.
- Anchor the structure. Many sheds include ground anchors or require concrete footings. High-wind areas (coastal zones, tornado-prone regions) may require hurricane straps or anchor bolts sunk 18+ inches into concrete piers. Check local building codes.
- Install roofing properly. Overlap shingles correctly (exposure should match manufacturer specs, typically 5-5½ inches for standard three-tab shingles) and use roofing felt or synthetic underlayment beneath. Improper flashing around roof edges invites leaks.
Interior organization:
- Mount wall studs or French cleats for adjustable shelving. Standard shed walls use 16-inch or 24-inch on-center framing: locate studs with a finder or knock test before mounting heavy brackets.
- Add plywood backing behind pegboard to prevent sagging and provide fastener support.
- Elevate stored items off the floor using plastic pallets or pressure-treated 2×4 sleepers to prevent moisture wicking and pest access.
For those wanting to customize basic structures with adaptive shelving or unique layouts, browsing modified storage hacks can spark ideas for inexpensive bracket systems and modular components that fit non-standard dimensions.
Safety reminders: Wear gloves, safety glasses, and steel-toed boots during assembly. Use hearing protection when operating power saws or drills for extended periods. If working alone, use temporary bracing to hold wall sections upright, most injuries happen when panels tip during solo assembly.
Conclusion
On-site storage transforms a cluttered property into an organized, functional space. Whether choosing a permanent shed, a temporary container, or building a custom solution from scratch, focusing on proper site prep, realistic capacity planning, and code compliance ensures long-term success. Take time to assess needs, budget appropriately, and install correctly, the result is a storage system that protects investments and simplifies daily property management for years to come.